
 by
by 
Imagine a scenario where you are working on two projects, and one project uses Django 2.2, and the other uses Django 3.2. This would be a real problem since Python can’t differentiate between versions in the site-packages directory. Both version of Django would reside in the same directory with the same name. Since there is no differentiation between versions, both projects would be required to use the same version, which is unacceptable in this case. This is where virtual environments tools come into play.
The main purpose of Python virtual environments is to create an isolated environment for Python projects. Each project can have its own dependencies, regardless of what dependencies every other project has. In addition, a virtual environment is also useful when you need to work on a shared system and do not have permission to install packages as you will be able to install them in the virtual environment.
What is Venv?
The venv module is used to manage Python packages for different projects. venv is a package shipped with Python 3, therefore, you do not have to install it. Using venv allows you to avoid installing Python packages globally which could break system tools or other projects. It provides support for creating lightweight “virtual environments” with their own site directories, optionally isolated from system site directories. Each virtual environment has its own Python binary (which matches the version of the binary that was used to create this environment) and can have its own independent set of installed Python packages in its site directories
The Venv is a module shipped with Python 3.3+. It provides support for creating lightweight “virtual environments” with their own site directories, optionally isolated from system site directories. Each virtual environment has its own Python binary (which matches the version of the binary that was used to create this environment) and can have its own independent set of installed Python packages in its site directories. It serves the same purpose as virtualenv; however, virtualenv continues to be more popular than venv, especially since the former supports both Python 2 and 3. However, it’s really a matter of personal preference. Venv to be the most hassle-free of the options because it’s built into Python, and just works out of the box. However different people have different preferences and use-cases so considerations may vary. Another very popular Dependency Management tool is poetry which I plan to explore soon.
Creating virtual environments
Creation of virtual environments is done by executing the command venv:
python -m venv path/to/new/environment
Running this command creates the target directory (creating any parent directories that don’t exist already) and places a pyvenv.cfg file in it with a home key pointing to the Python installation from which the command was run (a common name for the target directory is .venv).
Objective
We are going to create a virtual folder for Matplotlib.
project-1/
├── main.py
Step-1: Open Git-Bash and create a project folder
mkdir project1Step-2: Change directory into project folder
cd project-1Step-3: Create the Virtual Enviornment Folder
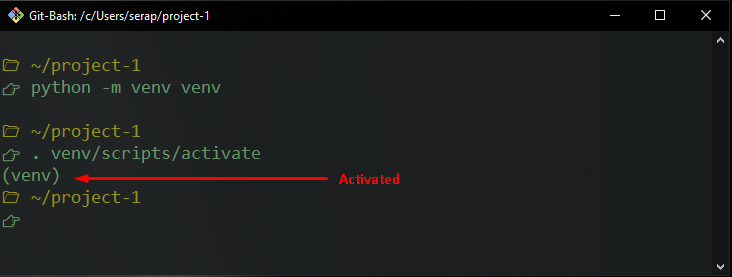
python -m venv venvSee screenshot below to see a break-down of the COMMAND so you understand it:
The first command is python because it is a python command -m stand for module, the venv is the module name to be ran and the last venv is the name of the Virtual Environment Folder. You can name this ANYTHING you wish, however by convention it is named venv. After running this command, you can see a folder named venv was created inside project-1 directory.
Step-4: Activate Virtual Environment
. venv/scripts/activateOnce the virtual enviornment has been activate your shell prompt will change. You will see your virtual environment folder name in parenthesis.
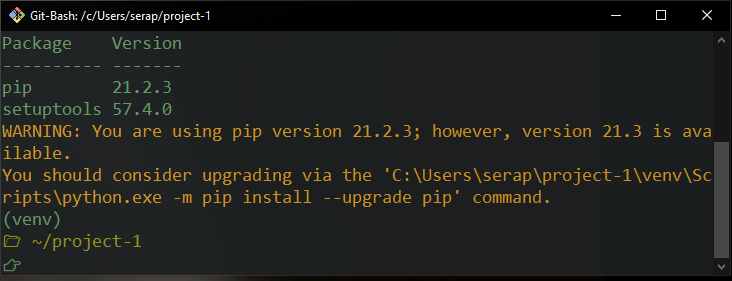
View installed packages
pip listThis will display all install packages in your virtual envornment. You should just see pip and setuptools. It is ok if you get a warning message telling you to upgrade pip. Just ignore it for now.
Step 6: Install packages using pip
The syntax for installing packages is: pip instll <PACKAGE_NAME>. FOr this Tutorial we will install matplotlib. Type the following command:
pip install matplotlib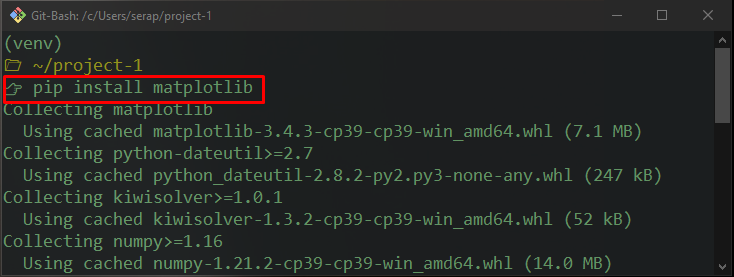
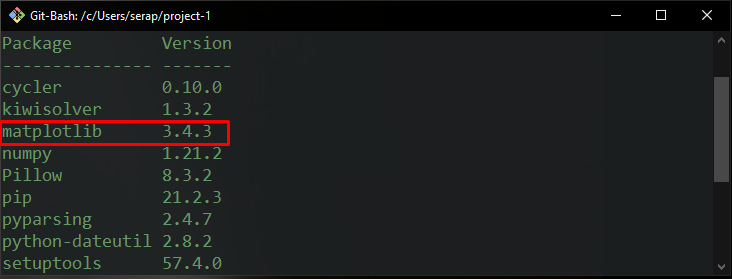
Clear your Terminal;
clearNow lets see what packages we have in our vortual enviornment with the command: pip list. You should now see Matplotlibinstalled as well as other dependancies.
Step 7: Create a File
Let’s create a file inside our project-1 name the file main.pyand type the following code:
import matplotlib.pyplot as plt
squares = [1, 4, 9, 16, 25]
plt.plot(squares)
plt.show()
To run the module, type the following comand: python main.py and hit enter. You should see the following graph.
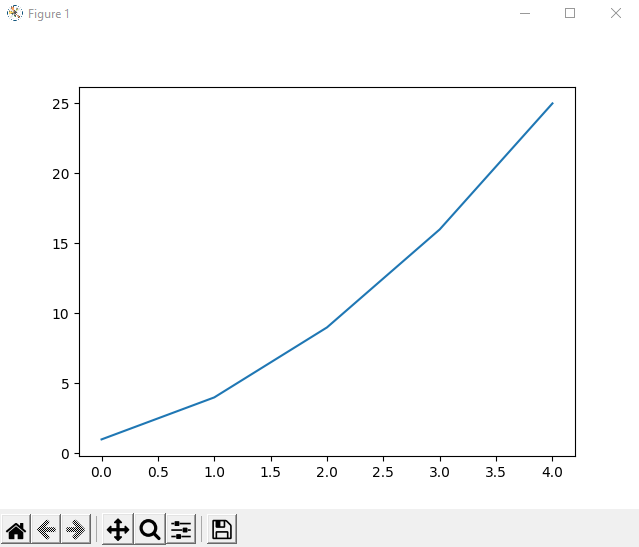
Close the graph when you are done.
Step 8: Deactivate Virtual Enviornment
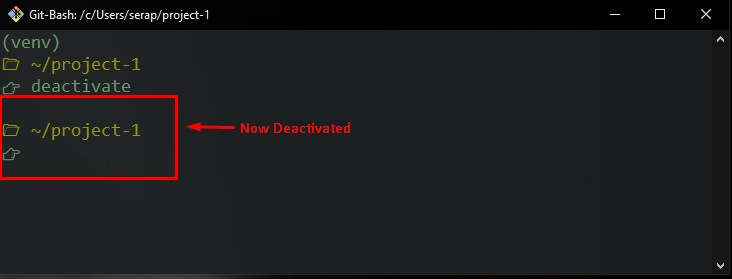
Type the following command to deactive the virtual enviornment
deactivateYou will now notice your command shell has changed again.You should not see the virtual folder name in parentheses anymore.
Conclusion
This is how you set up a Virtual Environment the easy way using the venv module. This is a very important skill to learn as a Python developer. In the next tutorial I will show you how to implement a Virtual Environment using pipenv If you have any questions about this process, please feel free to reach out to me!